If you’ve ever tried to remove the old insulation in your house, you’ll know that it is a very difficult task, especially if you have fiberglass insulation. When we think of fiberglass removal, most people think it’s just about pulling out old material and you’re done, but it also involves safety and making sure everybody working on the project stays safe and healthy. So, if you want to remove your old fiberglass insulation so you can get a new one, keep on reading to find out how to do it.
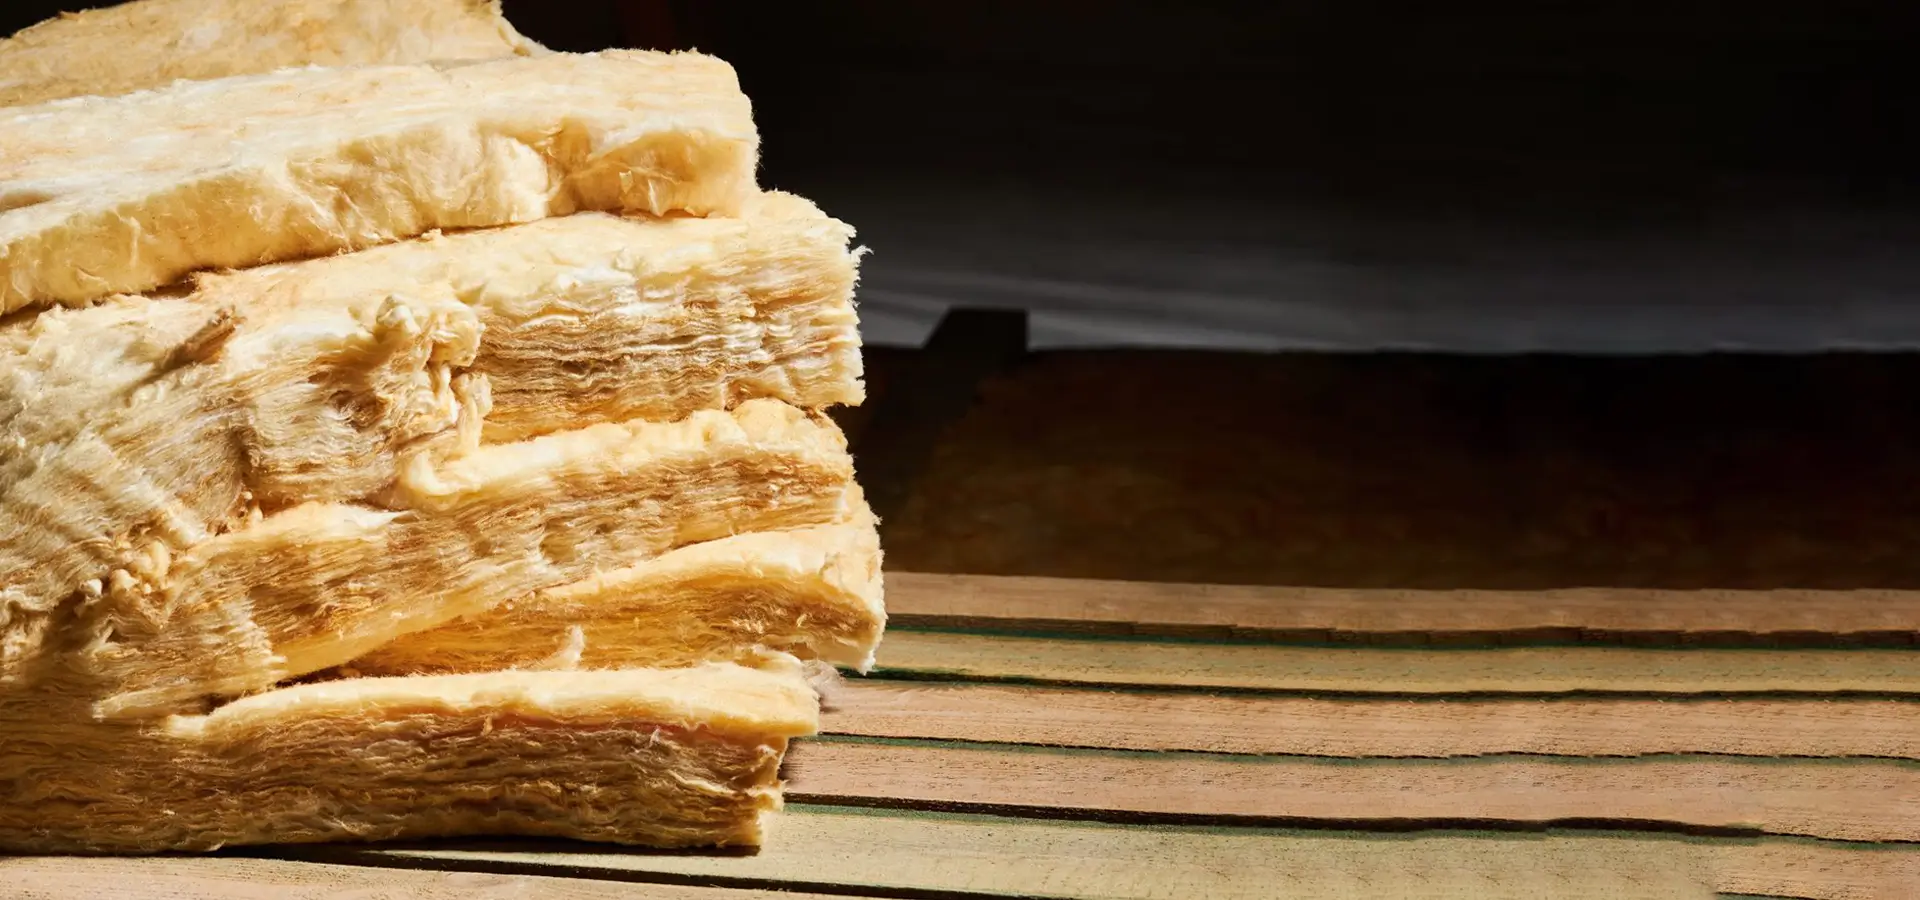
Fiberglass insulation is very common, and you’ll see a lot of homes that use this insulation because of its thermal properties, but as it grows old, it could become a concern. You might remove fiberglass insulation because you have mold, you’re renovating your house, or you want better insulation, or for any other reason. But the problem is that fiberglass removal isn’t something you can do over the weekend as a DIY project. It’s not just about pulling a strong fiberglass wall with a pair of gloves but also about careful planning, having the right safety gear, and ensuring there aren’t any health risks. Let’s find out! Air ports for Fiberglass Parts Removal.
Before we go into fiberglass removal, we first need to prepare ourselves and make sure we have the right gear on hand. Fiberglass is made up of tiny glass particles that can harm you if you inhale them or if they come in contact with your skin. So, when we say you have to prepare yourself, it’s not just a precaution but a necessity, and you must take it seriously.
We understand that fiberglass insulation is effective, but when it comes to fiberglass removal company, it could get pretty hazardous. The tiny fiberglass particles can irritate your eyes, skin, and your respiratory system and must be taken seriously. If you stay in that environment without protective gear for longer periods, it could cause severe health issues, so make sure the exposure to fiberglass particles is minimal when you’re working on fiberglass removal.
Now that we know how dangerous fiberglass removal can be let’s take a look at the safety gear you should have when you start the process.
Now that you have your safety gear and the right tools, you’re ready to start the fiberglass removal process so you can install a better one. Remember that it’s not just about you removing your old fiberglass insulation but doing it in a safe and protected way so you and your home stay safe from the associated risks.
One thing you can do to make sure you, your family, and your house are safe is to seal the area where you’re working. When you start working in a room, tiny pieces of the insulation will fall and accumulate on the ground, while some of them might get airborne and travel throughout your house, which is a great health risk for you, your family, and your pets.
When thinking about sealing your room, get durable plastic sheets and cover all your doors, windows, vents, and any other openings you have in the room. Use strong tape to secure the plastic sheets, and you’ll create an effective seal.
If you’re working in a room that has floorboards or gaps, like your attic, use plastic sheets to cover the floor as well. This will help you catch any falling debris and make the cleanup easier.
There’s more to sealing a room than just using plastic sheets and tape. One thing you can do is to make sure your HVAC system is turned off when you’re working so the fiberglass particles can’t escape the room through the ducts. You can also think about getting an air purifier with a HEPA filter so it can catch any particles in the room.
Another thing you should do is to create a decontamination room where you can safely remove the protective gear you were wearing and dispose of it.
We all know that asbestos is known for its severe health risks, and you want to make sure that your insulation doesn’t have any asbestos in it. If your house was built before 1980, there might be a chance that it could contain asbestos, and when you disturb the insulation, harmful fibers could be released into the air.
Before you test for asbestos, make sure that you’re wearing your protective gear, that the room is completely sealed, and that the HVAC is completely turned off. If there’s any dust, you should spray the area lightly with water so the dust can settle. This will make sure that there won’t be any problems when you’re trying to get a sample. Take a knife or pliers and break off a small piece of the insulation, place it in a sealed plastic bag, and follow the instructions given in your DIY asbestos testing kit or when sending it to the lab.
Be very careful when doing it, as the insulation could also contain bacteria or remnants of pest infestations. Another thing you should check for is mold, which occurs when moisture penetrates your insulation.
Remember that if you have any doubts about asbestos, bacteria, or mold, it’s better to call a professional insulation company for fiberglass removal, as they’re experts and know how to handle it without putting anyone at risk.
Now that you’ve contained the area and made sure there’s no asbestos or any other harmful material; the next step is to extract the insulation. You can use vacuuming for this purpose as it’s not only effective but also safe and reduces the risk of airborne fiberglass particles.
Once you have properly vacuumed and removed all the fiberglass insulation from your home, the next step is to make sure you dispose of it properly. You can’t just discard fiberglass insulation like you do with your regular household items, as it poses more healthcare risks.
Once you’ve bagged or double-bagged the fiberglass insulation, make sure that you immediately remove it from your home to minimize any risks of fibers escaping. Carefully carry the bags to an outside area and make sure nobody comes into contact with them. Place them in your vehicle and take them to a facility that handles fiberglass waste.
Fiberglass insulation is widely used because of its thermal properties, but you have to understand that it also comes with its challenges, and if you want to remove it, you need to know what you’re dealing with.
As we wrap up our thorough guide to fiberglass removal from your home, let us reiterate that while doing it as a DIY project can be very rewarding and cost-effective, you will face various challenges, and it’s better to let experts deal with them. At Advanced Insulation Solutions (AIS), we’re always willing to help out our customers with insulation removal to make sure you and your family stay safe while we handle the problem. We specialize in all things related to insulation, whether it’s insulation removal or if you want it installed in your home.
If you’re thinking about getting professional help for your fiberglass insulation removal or installation or just looking for some advice on how to manage your home and energy bills, we’re always willing to help. Contact Advanced Insulation Solution today and talk to us.
Post Tags :
Share :
Copyright © 2024 | Advanced Insulation Solutions